The good news: a professional water softener installation is typically a single-afternoon project — not a multi-day ordeal. Most installations wrap up in 2 to 4 hours. But that window only holds when the work is done correctly. Cutting into the main water line, connecting resin and brine tanks, routing drain lines, and programming the control valve all follow a defined sequence — skip or rush any step, and you're looking at leaks, poor softening performance, or a voided warranty.
This guide breaks down exactly how long each phase takes, what variables push installations past the 4-hour mark, how to prepare your home for a faster visit, and when professional installation is the smarter call.
Key Takeaways
- Most professional installations finish in 2 to 4 hours, from technician arrival to the first completed regeneration cycle
- Three phases cover the job: site assessment (30–60 min), plumbing setup (1.5–2.5 hrs), and commissioning (30–60 min)
- Replacing an existing unit is faster — the plumbing, drain, and power infrastructure are already in place
- Pipe material, drain access, electrical availability, and system complexity are the four factors most likely to extend the timeline
- Professional installation protects your warranty, ensures code compliance, and delivers same-day soft water
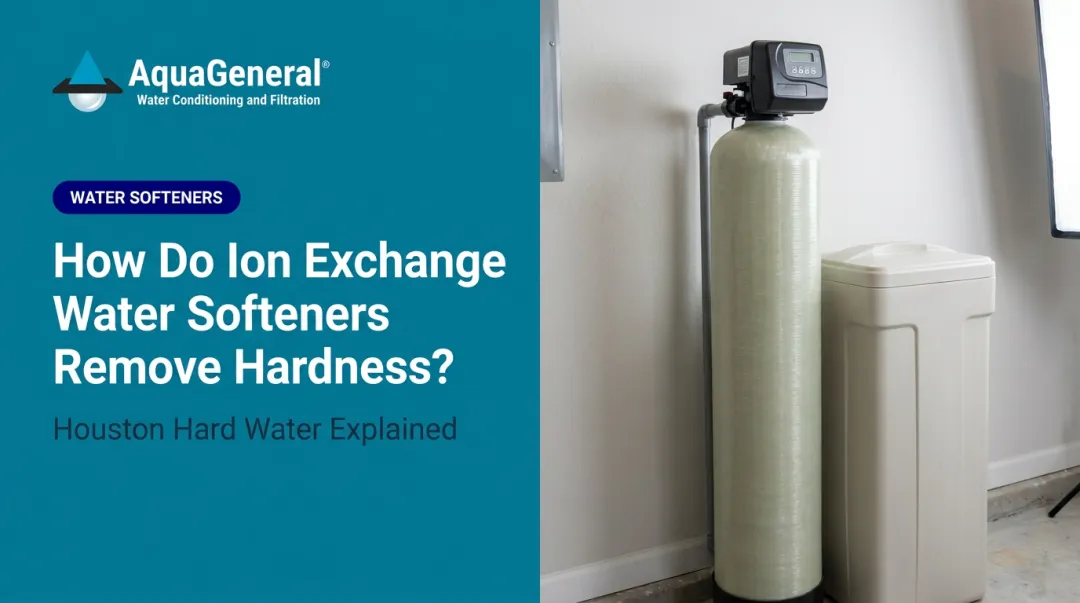
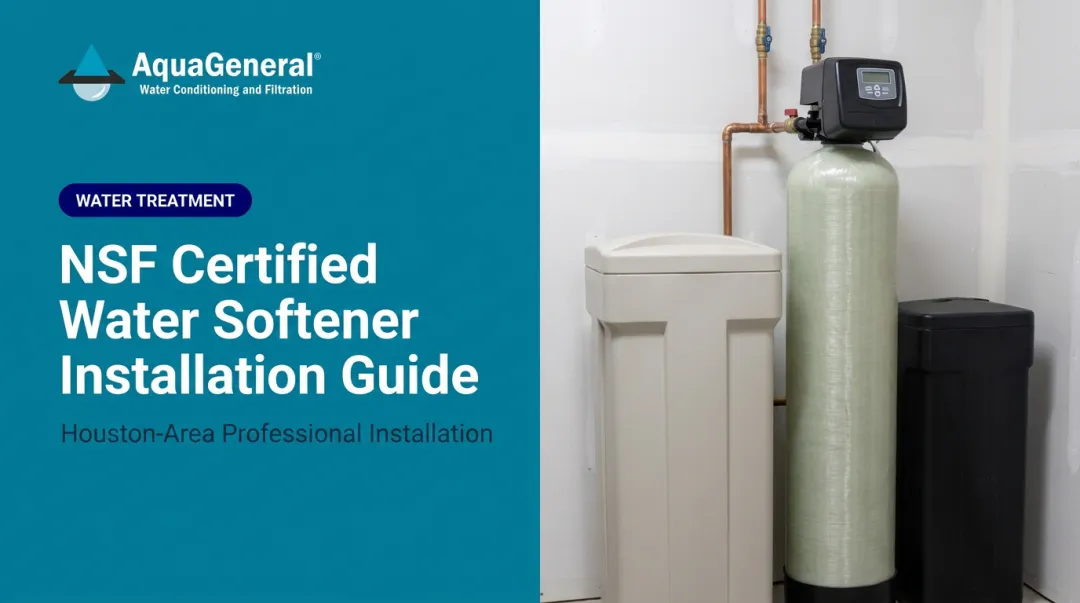
How Long Does Water Softener Installation Take?
The average professional water softener installation takes 2 to 4 hours. That window breaks down into three distinct phases — each with a specific purpose. Rush or skip any one of them, and you risk misconfigured programming, undetected leaks, or resin fines in your plumbing.
Phase 1: Site Assessment and Water Testing (30–60 Minutes)
Before any tools come out, a technician should assess the site. That means:
- Testing on-site water hardness in Grains Per Gallon (GPG) and iron content
- Locating the main shut-off valve
- Identifying the nearest drain and power source
- Confirming the best unit placement
Even if you've had a prior water test, a fresh on-site reading matters. Hardness varies significantly across Greater Houston — the City of Houston's 2023 Water Quality Report shows the Main System ranging from 57 to 128 ppm, while Willow Chase averages just 47 ppm. An accurate reading from your specific tap determines system programming from day one.
The Water Quality Association's 2025 residential design guidelines confirm that comprehensive water analysis is mandatory before system design — not optional.
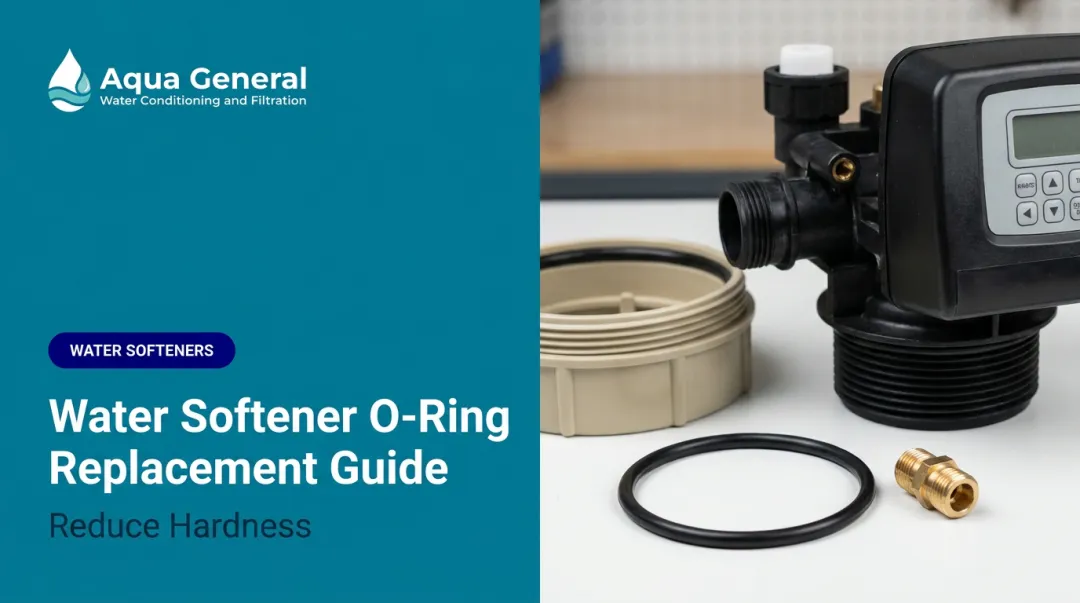
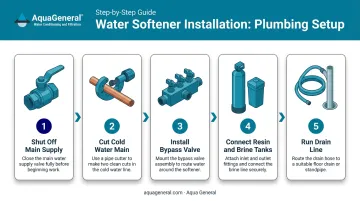
Phase 2: Plumbing and Hardware Setup (1.5–2.5 Hours)
This is the most labor-intensive phase. The technician:
- Shuts off the main water supply and opens low-point faucets to drain residual pressure from the lines
- Cuts into the cold water main — after the meter entry point, before the water heater — so both hot and cold distribution receive softened water
- Installs the bypass valve, allowing the homeowner to route water around the softener during maintenance without losing water service
- Connects the resin tank and brine tank to the IN and OUT ports on the control valve
- Runs the drain line to a floor drain or utility sink — minimum ½-inch pipe, upgraded to ¾-inch if the line exceeds 20 feet or backwash flow tops 7 GPM (per manufacturer installation specs)
This phase runs long when drain access is limited, pipe material requires soldering, or the installation location is far from the water entry point.
Phase 3: Programming and Commissioning (30–60 Minutes)
Once the system is physically connected, it has to be brought online. The commissioning sequence includes:
- Filling the brine tank with salt and the specified initial water level
- Setting the internal clock on the control valve
- Entering the hardness data measured during Phase 1
- Purging air from the lines by opening a nearby cold-water tap
- Running a manual regeneration cycle to flush resin fines from the new resin bed and confirm drain lines are flowing correctly
Manufacturer startup instructions specify running the backwash step for 10 minutes or until the drain water is clear — which gives you a sense of why this phase takes as long as it does.
New Installation vs. Replacement: Time Difference
Replacing an existing softener is considerably faster. When the plumbing connections, bypass valve, drain line, and electrical outlet are already in place, a technician can swap units and commission the new system in under 2 hours.
A new installation — particularly in a Houston home built on a slab without a pre-plumbed softener loop — requires routing all connections from scratch. That adds time to both the plumbing phase and the site assessment, since the technician must identify the best path for the drain line and confirm power availability.
Factors That Affect How Long Installation Takes
The 2-to-4-hour window assumes accessible plumbing, standard pipe materials, and a drain and power outlet within reasonable reach. These four variables most commonly push installations beyond that range.
Pipe Material and Age
The type of pipe in your home directly affects how long the plumbing phase takes:
- PEX with push-to-connect fittings — fastest option, no heat required
- Copper with compression fittings — straightforward, minimal added time
- Soldered copper joints — adds time; manufacturer installation guidelines note that solder joints near the drain must be completed before connecting the drain-line fitting, with 6 inches of clearance required to prevent heat damage
- Galvanized steel pipe — older homes may require threaded adapters or partial re-piping before a connection point is accessible
Let your technician know your pipe material before the visit. Arriving with the wrong fittings means a return trip.
Drain and Power Availability
The system needs two things near the installation point:
- A drain within a manageable distance to discharge regeneration water — manufacturers specify that drain lines exceeding 20 feet require upsizing from ½-inch to ¾-inch pipe
- A 120V grounded outlet within reach of the control valve's power cord
Texas plumbing code (IPC Chapter 8) requires that indirect waste discharge goes through an air gap or air break into a trapped, vented waste receptor.
If no code-compliant drain exists near the installation location, the technician may need to pump discharge through an exterior wall or coordinate with an electrician — both of which add time and cost.
System Complexity
Not every installation is a single-tank softener. More complex configurations take longer:
| System Type | Estimated Installation Time |
|---|---|
| Single-tank salt-based softener | 2–4 hours |
| Softener + sediment pre-filter | Add 30–60 minutes |
| Softener + carbon filter or UV system | Add 1–2 hours |
| Multi-stage whole-house filtration system | 4–6 hours or more |

Each additional stage means more plumbing connections, separate drain lines, and additional calibration time. Aqua General installs combination systems including whole-house softeners paired with catalytic carbon filtration and point-of-use reverse osmosis, where the total installation scope far exceeds that of a standalone unit.
Houston-Specific Sizing Considerations
Greater Houston's water hardness doesn't follow a single number. Sugar Land's Main System ranges from 35 to 280 ppm (2.0 to 16.4 GPG) depending on the service zone. Galveston's 2024 Water Quality Report documents hardness at 127 ppm. At these concentrations, proper system sizing is critical. An undersized unit will wear out prematurely and fail during high-usage periods.
The WQA's 2024 best-practices guide recommends setting softeners to remove 4,000 grains of hardness per pound of salt while using no more than 5 gallons of water per 1,000 grains during regeneration. A technician who skips the Phase 1 water test and guesses at programming will miss that target.
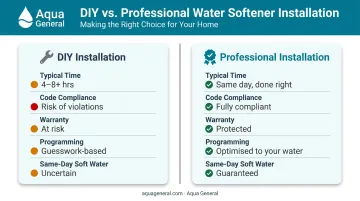
Why Professional Installation Is the Right Choice
A water softener installation requires cutting into the main water line, routing drain connections to code, and programming the control valve to your home's specific water chemistry. Errors at any step can cause leaks, code violations, voided warranties, or a system that runs normally while delivering no softening at all.
The risks of an improper install include:
- Leaks from improper fittings or incomplete solder joints that don't show up until the system is under full pressure
- Code violations from missing air gaps on drain lines — required by Texas IPC Chapter 8 to prevent sewage back-siphoning
- Voided warranties if the manufacturer requires professional installation
- Incorrect programming that wastes salt, shortens resin life, or leaves the water partially softened
The Texas State Board of Plumbing Examiners (TSBPE) specifies that a Journeyman or Master Plumber with a Water Supply Protection Specialist Endorsement may install, service, or repair plumbing associated with water treatment.
Aqua General's team holds a TCEQ Class III Water Treatment Specialist License (a designation David A. Davies was among the first in Texas to earn) and WQA Certified Water Specialist credentials, backing over 32 years of installations across Harris, Fort Bend, Montgomery, Galveston, Brazoria, and surrounding counties.
What professional installation delivers:
| Professional Installation | |
|---|---|
| Typical time | 2–4 hours |
| Code compliance | Code-compliant drain, air gap |
| Warranty | Protected |
| Programming | Calibrated to actual water hardness |
| Same-day soft water | Yes |
Professional installation eliminates the risk of leaks, code violations, and misconfigured programming. Contact Aqua General to schedule your installation — their team arrives with the right fittings for your pipe material, tests your water hardness on-site, and programs the system to your specific conditions before leaving.
How to Prepare Your Home for a Faster Installation
Good preparation on your end can shave 30 to 60 minutes off the installation visit.
Your technician will assess the installation site on arrival - checking the shut-off valve, drain access, and power availability, and confirming the best placement for the unit. If you are aware of any existing plumbing concerns such as low pressure, corroded pipes, or previous leaks, mentioning them when you schedule the appointment helps the technician arrive with the right fittings.
Don't Forget the Salt
Aqua General offers salt delivery as part of their maintenance service, so you don't need to source salt yourself -- they can handle delivery and top-up as part of ongoing system care.
Frequently Asked Questions
How long does it take to install a water softener?
Most professional installations take 2 to 4 hours from arrival to commissioning, broken into three phases: site assessment and water testing (30–60 min), plumbing and hardware setup (1.5–2.5 hours), and programming with a startup regeneration cycle (30–60 min). Replacing an existing unit typically takes under 2 hours.
Should I have a professional install my water softener?
Professional installation is strongly recommended for all water softener installations. Cutting into the main water line, routing drain connections with proper air gaps per Texas IPC Chapter 8, and programming the control valve to your home's specific water hardness all require the right credentials and experience. Improper connections can cause leaks, code violations, and voided warranties. Aqua General's TCEQ-licensed, WQA-certified technicians handle installations across the Greater Houston area — contact them for a quote.
How much does it cost to install a water softener?
Installation costs vary depending on complexity, pipe material, drain access, and system type. A direct quote from a licensed water treatment specialist is the most reliable way to budget for your specific situation.
How much does a water softener cost for a 2,000 sq ft house?
Square footage alone doesn't determine sizing. Water hardness in GPG and the number of occupants are the primary factors, so a water hardness test before purchasing prevents both undersizing (early failure) and oversizing (unnecessary cost). A properly sized system for a Greater Houston household gets calibrated to your specific hardness reading.
Where should a water softener be installed in my home?
The softener belongs on the main cold water line as close to the home's entry point as possible, upstream of the water heater. In Greater Houston, where slab-on-grade construction is the norm and basements don't exist, the garage or utility room near the water main entry is the most common location — provided there's access to a floor drain and a grounded power outlet.
How long until I notice the benefits after installation?
Cold water throughout the home will be soft immediately after installation. Hot water will remain hard until the existing supply in your water heater is used up and replaced with softened water, which typically takes a few hours to a couple of days depending on water heater size and household usage.